Feeds:
Posts
Comments

Archive for the ‘Other crafts’ Category

Birthday card

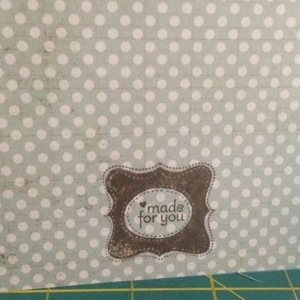
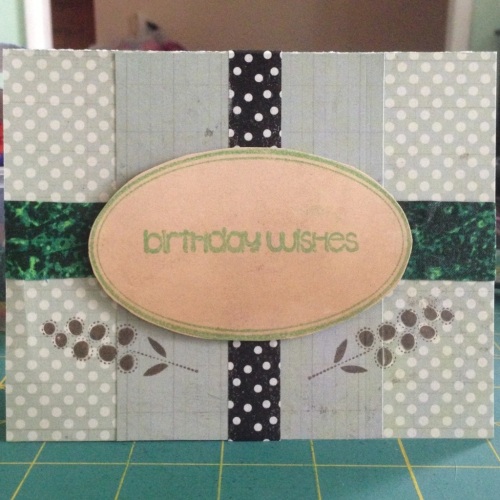
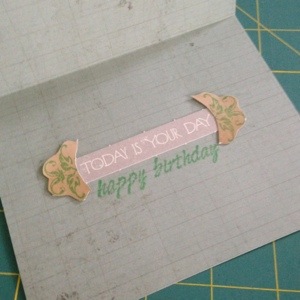
Here’s a cute little birthday card I made using the Critter Sketch challenge of the week.

20130419-150826.jpg

20130419-150901.jpg

20130419-150913.jpg

I decided to list the products just for fun and to show how many elements go into making a simple card.

Products used:
Card paper – Lily Bee Design “Jingle frost”
Oval paper – Glitz Design “uncharted water” line
Oval stamp (ends used on inside) – the girls’ paperie “jubilee”
Green ink – craft smart “Kelly green”
Brown ink – Tim Holtz Distress Ink (Ranger) “walnut stain”
Green tape – my homemade fabric tape
Dot tape – Smash tape
Flower stamp & made for you stamp – Stampin’ Up “best of everything” set
“Today” Sentiment – Authentique notables “uncommon” collection
“Happy birthday” & “best wishes” stamps – Kaiser Craft
(Other tools: glue dot runner, circular cutter, self healing mat, ruler, scissors, dimensional foam stickers)
Read Full Post »

DIY Washi Tape

20130409-142858.jpg

Quick tutorial
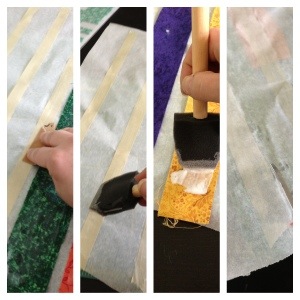
1: stick masking tape strips on wax paper (I used parchment as I already had it)
2: cut strips of fabric wider than the width of the masking tape (I ironed my fabric first)
3: lightly (and carefully!) sand the masking tape
4: spread a light layer of mod podge on the masking tape
5: place fabric strips onto the tape
6: apply a layer of mod podge over the fabric (I did this to make sure mine stuck well, but obviously it changes the feel of the fabric. Decide if you want matte or gloss finish. I chose matte.)
7: let dry
8: flip the wax paper over so you can see where the tape is and cut out the fabric covered tape
Now you are ready to use the tape! Just cut off a piece and peel off the wax paper.

20130409-144100.jpg

Read Full Post »

Recycling crayons

I HATE broken crayons. Drives me batty! Today I set out to take care of all our broken crayon bits.

20130330-151701.jpg
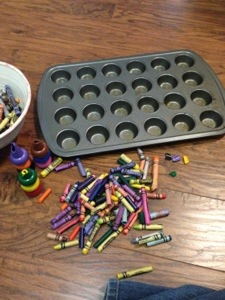
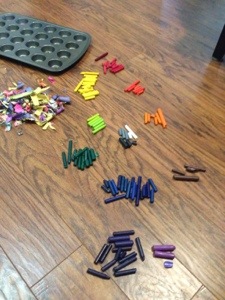
First I (and dear husband) removed the papers and separated colors.

20130330-151742.jpg
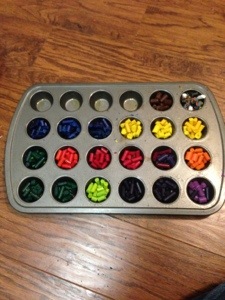
Then I broke them down into bits and put them in a sprayed mini muffin pan being sure not to overfill. I had to use a knife for some of them.

20130330-151930.jpg
Then I baked them at 230 degrees for 15 minutes. Most of them were done, but a few were holding out unmelted. I got tired of waiting though!

20130330-152121.jpg
Waiting for them to cool……
After they cooled to the touch I put them in the refrigerator and waited some more.
Then they popped right out!

20130330-162749.jpg
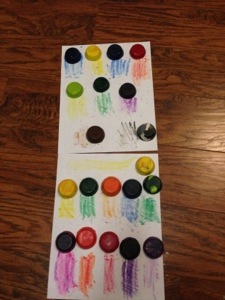
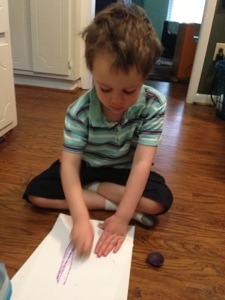
I colored with them to show you the colors and to soften up the rough edges. They work very well, but do leave some shaving crumbs. Hopefully that will get better with time!

20130330-163041.jpg

Read Full Post »

Battle of the Dollar Dyes

I purchased 3 Easter Egg Dyeing kits at Dollar Tree and decided to compare them for best coloring. Ideally I’d use natural dyes, but what can I say, I’m lazy.

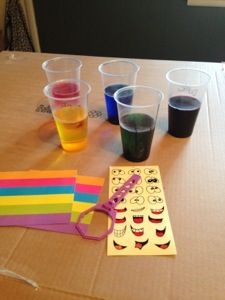
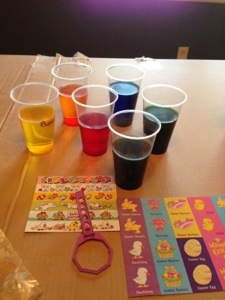
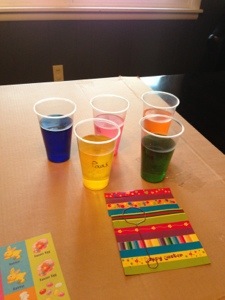
First up, “Dunk an Egg” complete with silly face stickers. Offers 5 colors and only had to add water.

20130324-165625.jpg

Next up, “Easter Bunny,” boasting 6 colors and a match game. Unfortunately, two colors were green and purple was absent. Required water in all and a tablespoon of vinegar in just yellow, blue, and green. It said to leave it out of red and purple (missing) and neglected to mention orange. I left it ourtof the orange since it also contains red.

20130324-165602.jpg

Last a familiar brand, “Paas” with 5 colors and no extras really. Each bath required 3 tablespoons of vinegar for the ultra coloring.

20130324-165611.jpg

RESULTS

I left the eggs in for 25 minutes.

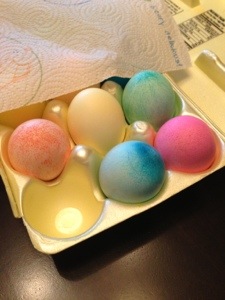
As expected, water only didn’t do a great job creating vibrant colors and there were funny starbursts of color.

20130324-175544.jpg

The Bunny colors were pretty good, except for the ones where no vinegar was added. The color was even and vibrant with less vinegar use.

20130324-175809.jpg

Finally, the Paas colors while quite vibrant were splotchy. The yellow and orange were nicer than the Bunny brand, but I liked the blue and green of the bunny brand.

20130324-175924.jpg

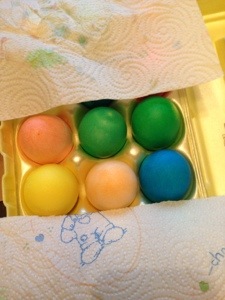
I decided to add 1 tablespoon of vinegar to the baths that didn’t have any and see what they looked like.

20130324-183856.jpg

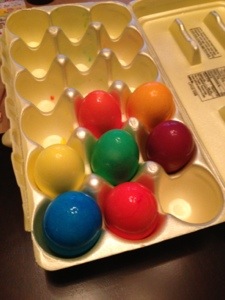
Turns out these are my favorite! Vibrant colors with minimal speckling. Plus they came with face stickers. My vote is dunk an egg, but add vinegar! Vinegar is key here, but excessive amounts are not necessary as the Paas ones with 3 Tbs weren’t any better than the brands with 1 Tbs.

Read Full Post »

Po-Tay-Toe Po-Tah-Toe

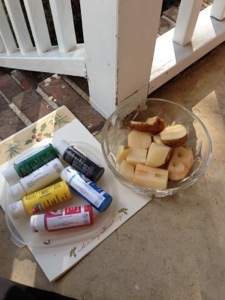
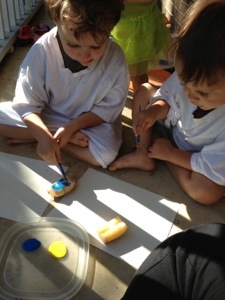
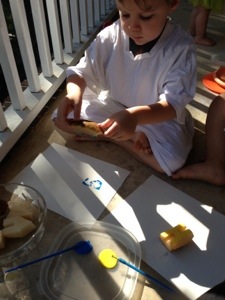
Potato stamp fun today. To cut back on the insanity, I cut out the stamps before the kids got up from their nap. I’m not sure about how to format on the device I’m using, so I apologize for just a straight line of pictures!

20121001-182305.jpg

20121001-182257.jpg

20121001-182312.jpg

20121001-182322.jpg

20121001-182326.jpg

20121001-182331.jpg

20121001-182410.jpg

20121001-182337.jpg

20121001-182346.jpg

20121001-182350.jpg

Read Full Post »

Day 29: Create a vase, bowl or other home decor item

Finishing up the challenge with a failure! It was an experience though. I saw a beautiful bowl here made out of yarn and paste (like for paper mache). Mistake #1: I tried to make it with the kids. Mistake #2: I used dark yarn. Mistake #3: ???? It dried really ugly with pasty flakes on it. Anyway, here are my bowls.


The white bowl (Hayden’s) probably looks the best since the paste didn’t affect the color and it is nice and sturdy.


My red bowl is really too thin, but the coloring isn’t too bad.


The purple bowl (Benjamin’s) is really ugly.  It’s very sturdy and solid, but the paste really made the purple look horrible. This craft also made a huge mess. But again, we had fun making them!


Read Full Post »

Salt Glitter Part 2

Salt Glitter Part 2: Our Ugly Creations

See how to make the salt glitter.

Here’s what we did with ours:


Sweep up the mess. Then, see that the colors dry very ugly and resolve to just buy glitter. We had fun though!

Read Full Post »

A photo blog of the boys and I making baking soda clay figures (recipe here)

Read Full Post »

A photo blog of the boys and I making salt glitter

Read Full Post »